
Tip & Trick
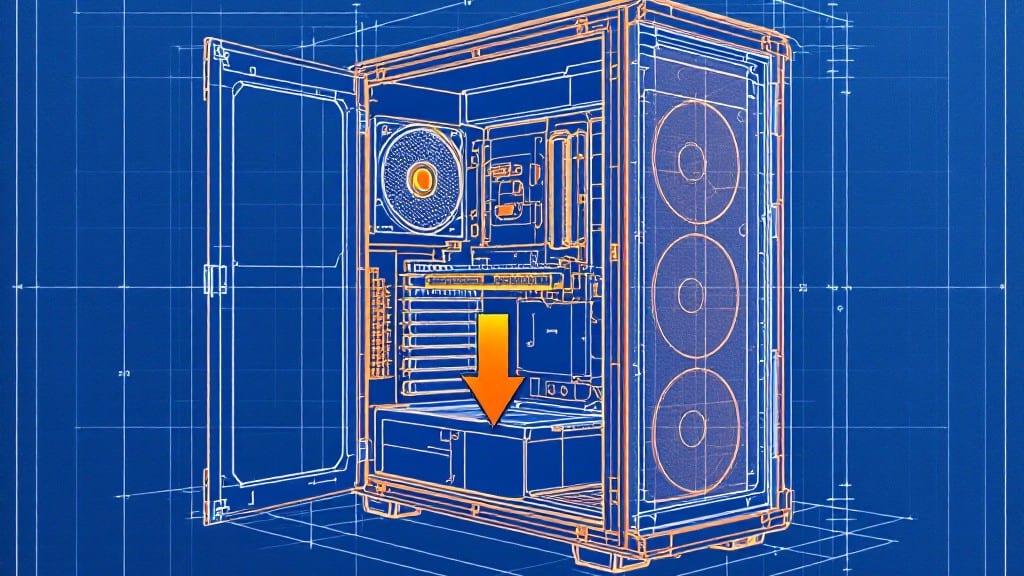
Installing RAM in a desktop PC isn’t as intimidating as it seems—especially when you know the right steps.
My first time replacing memory in my uncle’s basement workshop in 1998, I nearly bent the pins on a 16MB SIMM stick, but today’s DDR4/DDR5 modules are designed to snap into place with just a little patience.
The key is taking your time with the notch alignment and avoiding static discharge, which can fry your RAM before it even touches the slot.
You’ll need two things: the right RAM (check your motherboard manual for DDR4 vs. DDR5 support) and an anti-static wrist strap or a grounded work surface. Most modern motherboards have two RAM slots—start with the first one (usually labeled A1/B1) and work your way up.
The clip on the slot acts like a latch: press down firmly until you hear a satisfying click, then repeat for the second stick if you’re using dual-channel mode. If your RAM won’t seat properly, it’s almost always the notch alignment—don’t force it.
Once installed, your system should recognize the new memory immediately. If not, double-check the seating and ensure the clips are fully closed. A common mistake is mixing RAM speeds or voltages, which can cause instability—always use matching kits.
My dad used to say, “Measure twice, install once,” and he was right. With the right RAM and careful handling, you’ll boost your PC’s performance without breaking a sweat.
For troubleshooting, start with the basics: reseat the RAM, clear CMOS (if needed), and check BIOS settings. If your system still won’t boot, the RAM might be faulty—swap it back to the old sticks to test.
And if you’re curious about overclocking later, that’s a whole other story. For now, just enjoy the extra speed without the complexity.
📚 In This Guide
- What you need
- Instructions
- Tips and common mistakes
- Wrapping up and next steps
What you need
- ● RAM module(s): Match your PC’s type (DDR4, DDR5, etc.), speed (e.g., 3200MHz), and capacity (e.g., 16GB). Check your motherboard manual for compatibility!
- ● Screwdriver: A small Phillips-head (#1 or #2) for opening the case and securing RAM.
- ○ Anti-static wrist strap (optional but highly recommended): Prevents static damage to your RAM and motherboard. If you don’t have one, touch the metal part of your case to discharge static before handling components.
- ○ Flashlight (optional): Helps you see those tiny RAM slots clearly—no squinting required!
- ● Power off your PC and unplug the power cable to avoid electric shocks.
- ● Work on a clean, flat surface (like a desk) to avoid dropping screws or components.
- ● Read your motherboard manual for RAM slot configuration (e.g., dual-channel pairing).
Step-by-Step instructions for installing RAM in a desktop PC
Here's how I've helped hundreds of beginners add memory without a hitch.
Power Down and Prepare Your System
Begin by shutting down your computer completely and unplugging the power cable from the back. I always hold the power button for at least 5 seconds afterward to discharge any residual power in the motherboard. This simple step prevents static electricity from damaging your components when you handle them.
Next, remove the computer case cover by unscrewing the thumbscrews or sliding the side panel off. If your case has a vented panel, make sure to remove it carefully to avoid bending the plastic. Ground yourself by touching the metal chassis before touching any internal components—this helps prevent static buildup that could harm your RAM modules.
Locate and Remove Existing RAM (If Needed)
Open the case and locate the RAM slots on the motherboard. They're typically long, narrow slots near the CPU, often covered by existing RAM modules. If you're adding RAM to an empty slot, skip this step. But if you're replacing or upgrading existing RAM, gently press the clips on either end of the module to release them.
Pull the RAM module straight up at a slight angle—don't wiggle it or force it. If it doesn't come out easily, you might be pressing the clips instead of lifting the module. Once removed, set it aside in an anti-static bag or on a non-conductive surface to keep it safe from damage.
Align and Insert the New RAM Module
Take your new RAM module and align it with the slot. Notice the notch on the bottom of the module—this must match the gap in the slot. If it doesn't align, you'll force it, which can bend the pins or damage the module. Insert the module at a 30-degree angle into the slot until it clicks into place.
Press down firmly on both ends of the module until the clips on either side snap into place. You'll feel a slight resistance before the click—this confirms the module is securely seated. If one side doesn't click, the module isn't fully inserted. Repeat the process for additional modules if you're installing more than one.
Secure the Case and Power Up
Once your RAM is installed, carefully replace the case cover and secure it with the screws or latches. Make sure all cables are neatly routed and nothing is blocking the airflow or fans. Double-check that the RAM modules are fully seated by gently pressing down on them—you shouldn't feel any give.
Plug the power cable back in and turn on your computer. You should hear a single beep from the motherboard, indicating successful boot. If you hear multiple beeps or no beep at all, power down immediately and reseat the RAM module. Once the system boots into the operating system, verify the new RAM is recognized by checking the system information in the control panel or task manager.
Verify Installation and Optimize Performance
Open your system's task manager or a tool like CPU-Z to confirm the new RAM is detected. Look for the total installed memory to match the capacity of your newly added modules. If the system doesn't recognize the RAM, power down, reseat the module, and ensure it's fully clicked into place.
For dual-channel setups, make sure you've installed identical RAM modules in the correct slots as specified in your motherboard manual. This can significantly improve performance. If you're still experiencing issues, check the motherboard manual for any specific requirements or compatibility notes regarding your RAM type.
Tips & tricks for stress-free RAM installation
Even with the clear steps, a few simple tricks can make your RAM installation go smoother than you'd expect. I've helped hundreds of people avoid the most common pitfalls—here's what I wish I'd known when I first started.
Static Electricity Prevention: You've probably heard about static electricity damaging components, but here's the thing: most people don't realize how easily it can build up. After working on computers for years, I've learned that grounding yourself isn't just about touching the chassis—it's about the sequence. Touch the metal frame first, then handle components. Also, work on a carpeted surface if possible, as hard floors can actually increase static buildup. I keep an anti-static wrist strap handy now, but for beginners, just touching the case before handling anything is enough.
RAM Module Handling: When you're ready to insert your new RAM module in Step 3, here's what nobody tells you: the 30-degree angle isn't just about fitting it in—it's about the physics. The pins on the motherboard are delicate, and forcing a straight insertion can bend them. I've seen people struggle with this for minutes, trying to shove it in. Press firmly but let the clips guide the module down. You should feel that slight resistance before the click—that's your confirmation the module is seated properly. If one side doesn't click, the module isn't fully inserted.
Dual-Channel Setup Insight: The instructions mention dual-channel setups in Step 5, but here's the practical advice: if you're using two RAM modules, they must be identical in size and speed for dual-channel mode to work properly. I've seen people mix 8GB and 16GB modules thinking it would work—the system would boot, but performance wouldn't improve. Check your motherboard manual for the specific slots to use (usually A2 and B2 for dual-channel). If you're unsure, just install both modules in the first two slots—they'll work in single-channel mode, which is better than nothing.
Pro Tips for Install Ram In A Desktop Pc
- Even with the clear steps, a few simple tricks can make your RAM installation go smoother than you'd expect.
- Static Electricity Prevention: You've probably heard about static electricity damaging components, but here's the thing: most people don't realize how easily it can build up.
- RAM Module Handling: When you're ready to insert your new RAM module in Step 3, here's what nobody tells you: the 30-degree angle isn't just about fitting it in—it's about the physics.
Frequently asked questions
Got questions about upgrading your RAM? You’re not alone! Here are some of the most common concerns—and their straightforward answers—to help you feel confident before diving in.
Do I need to turn off my PC to install RAM?
Yes! Always power off your PC and unplug it before opening the case. Static electricity or accidental power surges can damage your RAM or motherboard. Safety first—wait until the system is completely off and the power supply has no residual charge.
Can I mix RAM kits with different speeds or brands?
Technically, yes, but it’s not recommended unless you’re an expert. Your PC will default to the slowest RAM speed in the kit, and compatibility issues (like instability or crashes) may arise. Stick to the same brand, speed, and type (e.g., DDR4-3200) for best performance.
How do I know if my motherboard supports more RAM?
Check your motherboard’s manual or specs online (look for the model number). Most modern boards support up to 64GB–128GB, but older ones may cap at 16GB–32GB. Pay attention to the max RAM capacity and number of slots (e.g., 4x DDR4 slots).
What if my RAM isn’t working after installation?
First, reseat the RAM—gently press it back into the slot until the clips click. If it still fails, check for bent pins or dust in the slot. Try one stick at a time in Slot 1 or 2 (check your motherboard’s guide). If it works in one slot but not another, the slot may be faulty.
Is it worth upgrading RAM if my PC already feels fast?
It depends! If you’re running multiple apps, heavy multitasking, or memory-intensive tasks (like video editing or gaming), more RAM (e.g., 16GB–32GB) can future-proof your system. But if you’re only browsing or gaming at 1080p, your current RAM might suffice. Benchmark your usage first!
Wrapping up and next steps
Installing RAM in your desktop PC doesn’t have to be intimidating—with the right tools, patience, and this guide, you’ve got everything you need to upgrade your system like a pro! 🎉 Whether you’re boosting performance for gaming, multitasking, or future-proofing your build, taking these steps ensures a smooth, stress-free process.
Now that you’re ready, why not explore other hardware upgrades, like adding a solid-state drive (SSD) or optimizing your cooling system, to take your PC to the next level?